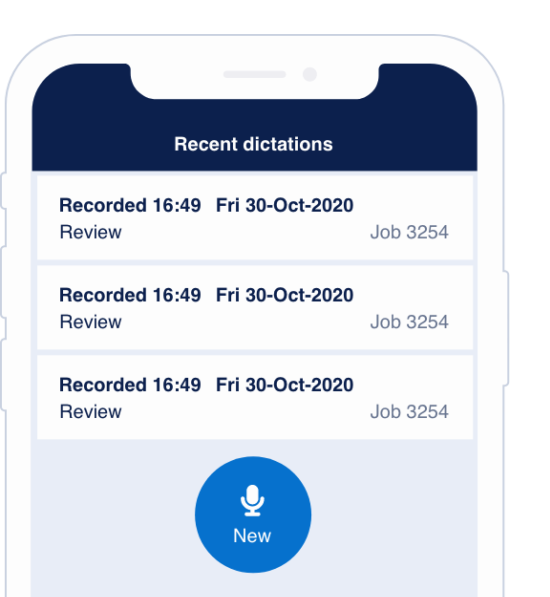
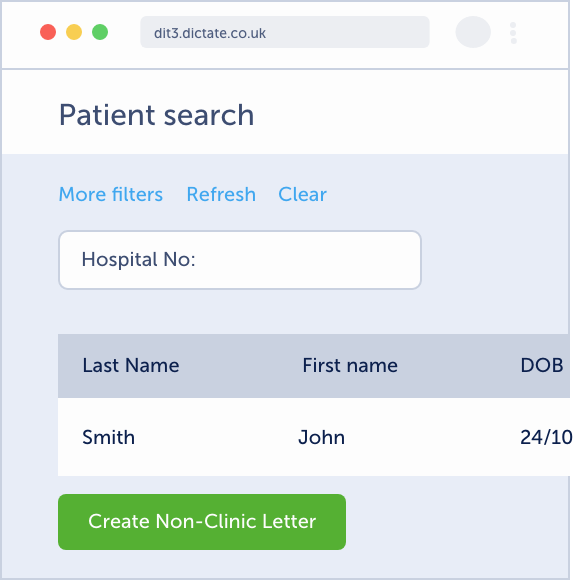
The EMIS configuration enables Swift to extract basic patient details (name, DOB) from EMIS. When a user dictates using Swift, the patient details are automatically pulled across. This means that the dictated text is clearly assigned to a patient when it is then distributed by the secretaries.
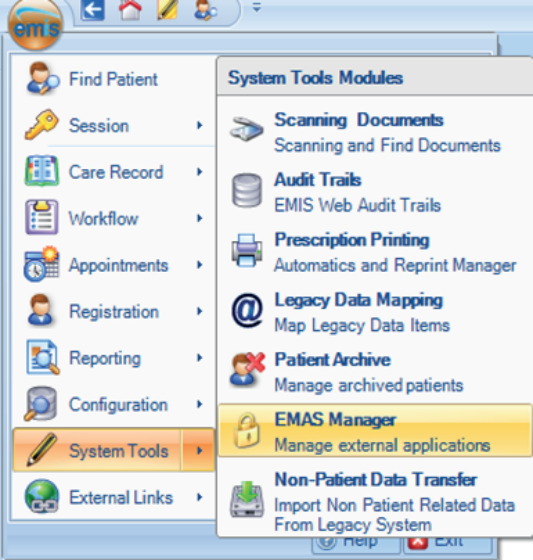
Step 1 – Configure the API users
Click the ‘EMIS’ icon in the top left corner, then select ‘System Tools’, then ‘EMAS Manager’.
Step 2
Select ‘Partner API’ in the bottom left corner, then select ‘Dictate Swift’ from the list of ‘Partner API’.
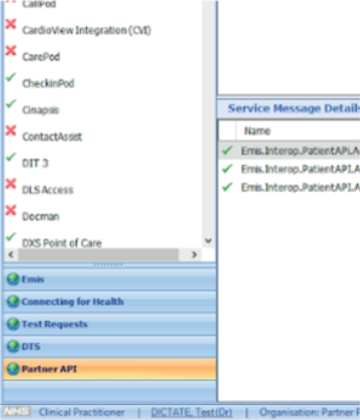
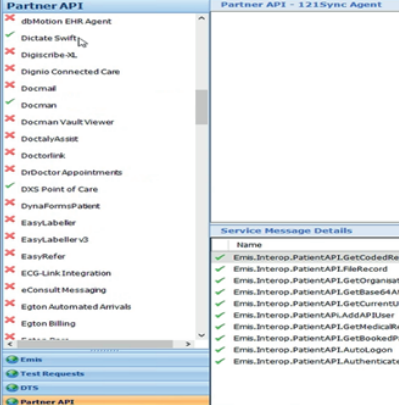
Click ‘Activate Application’ in the top left corner, ensuring that ‘Dictate Swift’ is still selected from the ‘Partner API’ list.

Step 3
Select ‘Login Access’, ensuring that Dictate Swift is still selected from the ‘Partner API’ list.
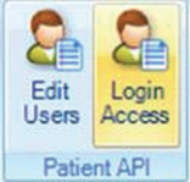
Locate ‘API, DictateIT (Mr)’ in the list of users shown. Tick ‘Auto Login’ and ‘Allow Login’, then press ‘OK’.
Click ‘Login Access’ again and find all users that are going to be using Dictate Swift. Tick ‘Auto Login’ and ‘Allow Login’ for each user, then press ‘OK’.
Step 4
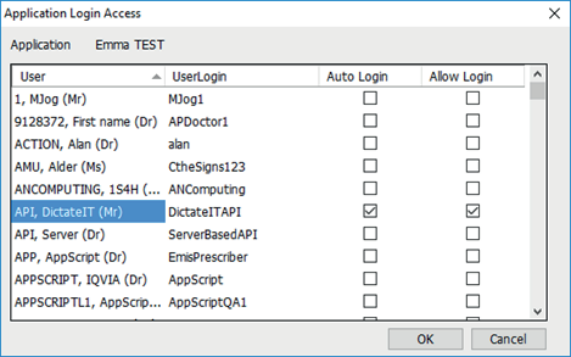
Each computer that will use the integration will need to be logged in to the Swift integration broker with the user’s Swift login details. Enter them and click ‘Login’.
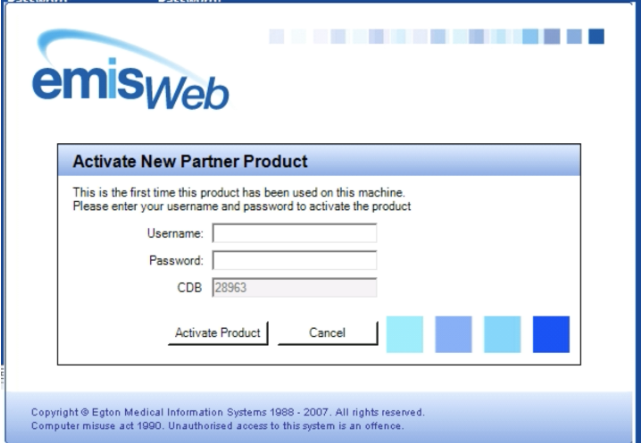
Once logged into the Swift integration broker an EMIS login window will appear, log in here with the EMIS login details of an account that was given access in step 3 and click ‘Activate Product’.
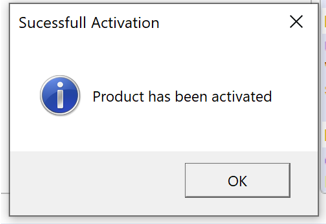
Once logged in this message will pop up to confirm that the integration is set up on that computer.
If any new Swift users are added at a later date, please ensure that steps 3 & 4 are repeated for these users to allow them to connect to EMIS.
If you experience connection issues please check that the configuration is correct and the user has Auto Login and Allow Login ticked.