Please click here for instructions if you are at an Irish or a private practice.
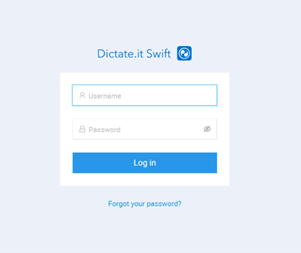
To dictate letters via a desktop microphone using Swift, the integration broker must be installed on your desktop PC. Click here to download. The integration broker is a small piece of software that simply allows Swift to talk to your clinical system. Click here to download and follow the on screen instructions. Once installed, a pop-up will appear asking for your Swift login credentials – log in using your Swift username and password. To start dictating, please go to the web portal at https://dictateswift.co.uk/#/login.
1. Log in to the web-based portal
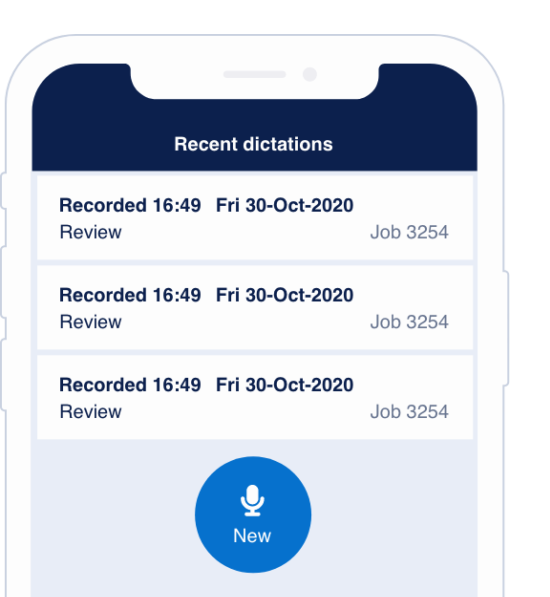
2. To create a New letter, please click on the ‘New Letter’ tab
3. Click the red icon to start recording. When your letter is being dictated, it will show in the secretarial team’s portal with the status ‘audio capture’. Watch the volume indicator to ensure your speech is being picked up.
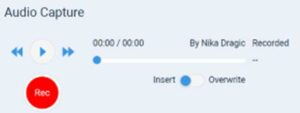
4. Click the red icon to stop recording.
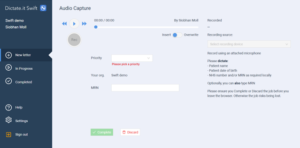
Top tip! You can review the recording using the audio controls. Audio can be edited using the Insert (insert dictation without removing anything that has been previously dictated) and Overwrite (overwrite all or parts of the dictation) controls if need be.

Once you have finished the dictation, please select the correct priority (2WW, Urgent and routine). 2WW and Urgent will be marked as red and will sit at the top of the queue for the secretaries.
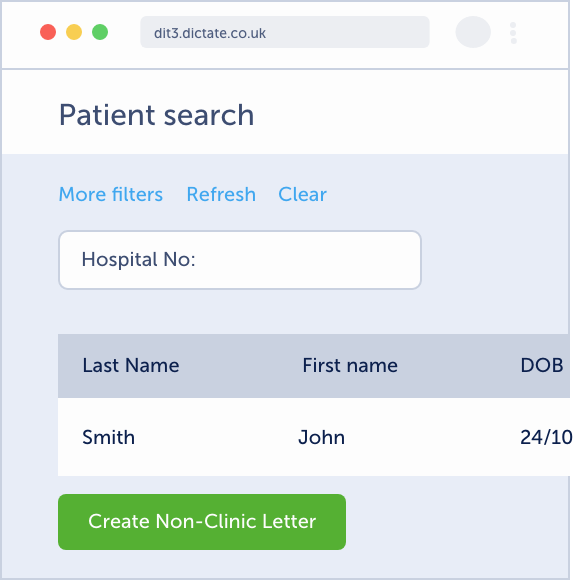
You can also add the patient’s NHS number into the NHS Number field if needed.
5. Click the ‘Complete’ button. Once completed, your letter will show in the secretarial team’s portal within the ‘In Progress’ list. The letter will initially show with the status ‘Processing’. When the text has been transcribed, the letter status will change to ‘ To review’.
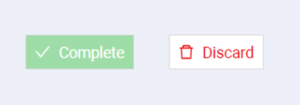
6. If you do not require your letter to be reviewed and distributed by the secretarial team – for example if you have created a letter as a test or in error – select the ‘discard’ button at this stage instead of ‘complete’.